
This content may include affiliate links, which means if you click on them, I may get a commission. The cool thing is, there’s no extra cost to you!
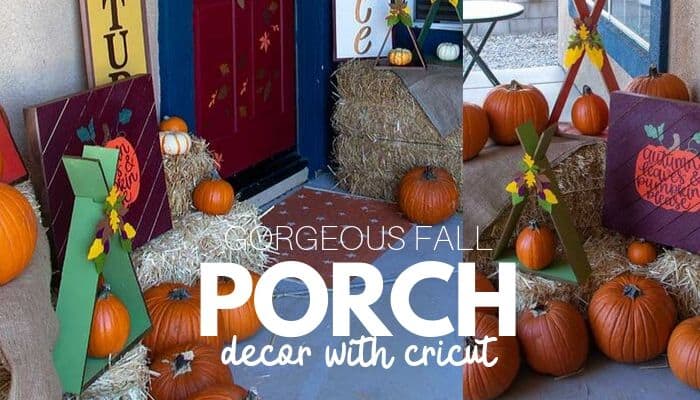
How to Decorate Your Fall Front Door for Halloween … with Your Cricut
Inside: Create a drop dead gorgeous fall front door with a few easy steps and your Cricut Maker. Your neighbors will think Martha decorated your front porch!
This is a sponsored conversation written by me on behalf of Cricut. The opinions and text are all mine.
A few years ago, I went to a magical Halloween night in Utah at a place called Gardner Village. Witch's Night Out was the most magical Halloween display I have ever seen. Pumpkins everywhere, bales of straw, and bushels of fresh apples … an example of the generous abundance of fall. What if you could do that for your own front door? Guess what … you can!

Front porches and are kind of an obsession of mine. I recently found out there are rules for decorating them … who knew?
We created this fall front door display following a few simple rules:
- Abundance
- Fall Colors
- Rustic Style

Building the Foundation of Your Fall Porch Decor
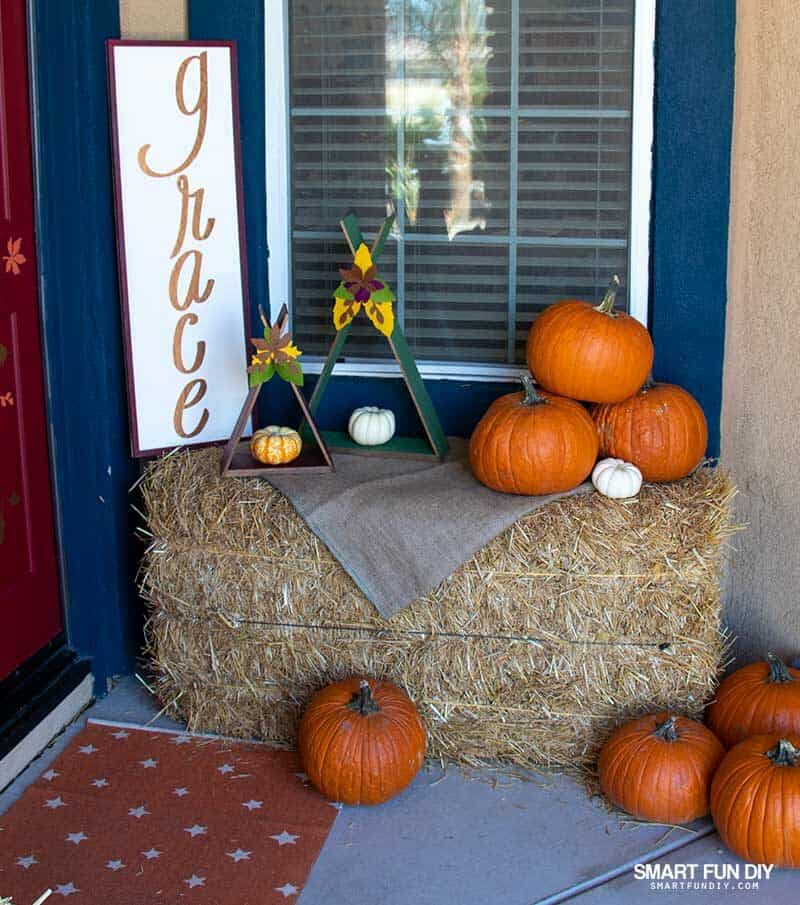
Take up space on the porch with large bales of straw. These provide ledges to stack items for display and help frame the door way. Bales of straw are the perfect backdrop for fall decorations outside.
Layer pumpkins and gourds among the base of the straw bales. Choose pumpkins in various colors and shapes to add interest. The more pumpkins in your display, the more it creates a feeling of abundance.
Add other fall harvest items to express more abundance:
- Indian corn
- Pomegranates
- Pine cones
- Squash
Reptition is another design tool to express abundance and create a cohesive fall front door design. Using multiple pumpkins is a form of repetition. The wood teepee shelves we used repeat the Native American motif in our display.
Easy Peasy Fall Door Decorations
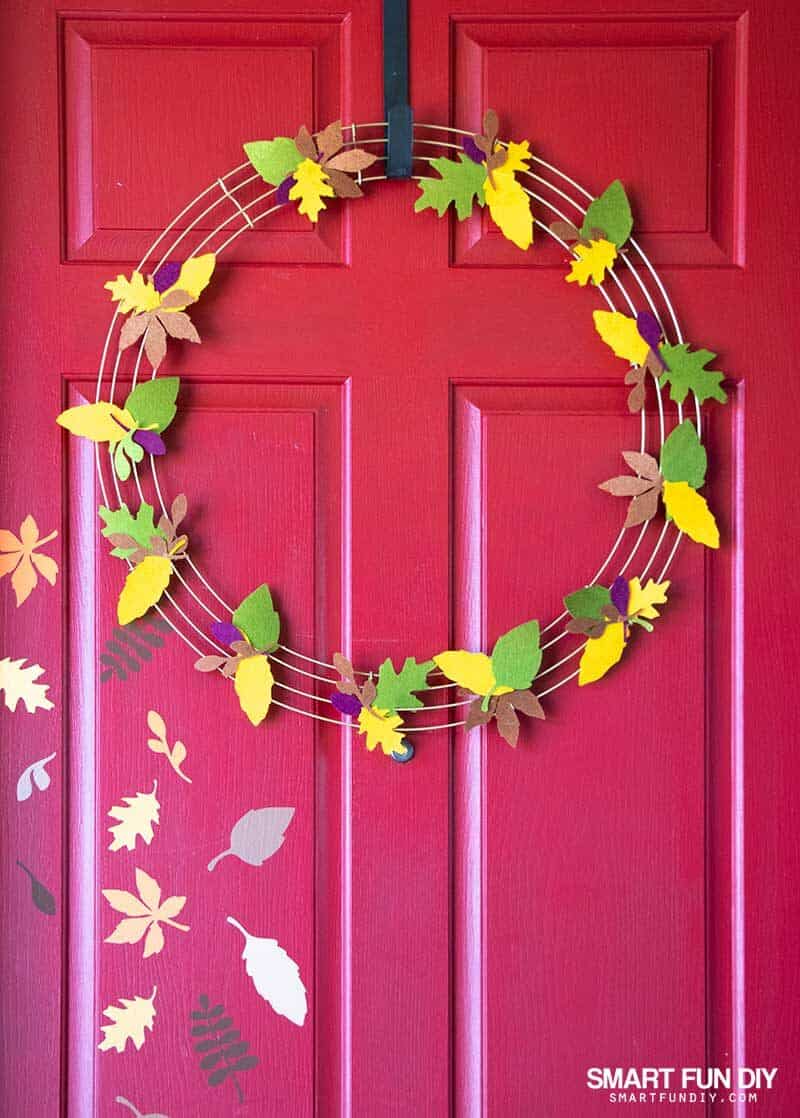
My front door always has a wreath on it. To change things up, we created a minimal wreath and decorated the door with vinyl leaves.
Decorate Your Front Door with Vinyl Fall Leaves … and Cricut Maker
Cricut Removable Vinyl makes it easy to decorate doors and windows for the holidays: simply peel away the vinyl stickers when the season is over.
We cut some of the leaves from Cricut Adhesive Foil Vinyl to give a tiny pop of shine to the rustic display.
The leaves look as if they are falling from the wreath down the door, adding some movement to a static display.
How to Make a Minimal Gorgeous Fall Front Door Wreath for Under $20
Simple is better … in life and in wreaths!
The wire frames for building wreaths look beautiful to me on their own, especially when painted gold.
This DIY wreath comes together super fast:
- Cut leaves from felt with your Cricut Maker
- Layer the leaves in odd numbers sets or 3, 5, and so on
- Attach the leaves to the wreath form using hot glue, leaving “white space” between each leaf cluster
Hang and enjoy. When the season is over, carefully peel the felt leaves from the wreath form and add new shapes.

Massive Wood Signs … for Cheap!
I love the look of farmhouse style wood signs … but they are so expensive. Even if you don't have power tools, you can make large wood signs yourself. All you need is your Cricut Maker!
Do I need power tools to make wood signs?
At the home improvement store, choose a sheet of 1/2″ or 1/4″ plywood.
Ask an associate to cut the wood to size for you. You'll need to know your measurements ahead of time. And yes, the store will cut the wood for you! You don't need power tools.
Preparing the sign for letters
The next step is to paint the plywood to form the base of your sign.
If you plan to add a frame, cut 3/4″ square dowel to fit the perimeter of the sign. You can get fancy and miter the edges if you have a compound miter saw like this. Or have the hardware store associate cut the lengths of dowel for you in-store.
Paint the frame pieces as well.
How to get perfect letters on a wood sign
Looking at a store-bought sign closely, I noticed that the lettering on most wood signs isn't really painted.
Here I was trying to figure out how to paint perfect letters and these companies were using screen printing and even stickers to add the lettering to their signs.
Well, we can do that too!
I cut the letters for each of these signs using my Cricut Maker and Cricut Adhesive Foil Vinyl. Why go matte when you can go metallic, am I right?

The words are longer than a Cricut mat so we had to cut each letter out individually. Easy enough … but then applying the large letters over a large surface is challenging.
The XL Scraper and Applicator and Remover Set make it super easy to apply large vinyl pieces over large areas.
After applying the vinyl, adhere the frame in place with wood glue or hot glue.
The easy way to make a handpainted sign … with Cricut Maker
If you don't like the look of vinyl on your farmhouse style sign, you might be thinking you should paint the sign.
And I totally agree! But let's not try to make this harder than it needs to be and paint it freehand. And vinyl stencils can be super messy. Ay yi yi.
Use your Cricut Maker to make vinyl masks for your project.
What's a mask versus stencil?
A “mask” is like a stencil in reverse. Instead of placing a stencil down and painting in the open spaces, a mask blocks the paint from a particular area.
How to create a multi-color painted sign with masks
We painted this Pumpkin sign using masks and acrylic paint. Revealing a masked image is magical because all of the layers and colors come into focus at once.

How to create a hand painted pumpkin sign with masking:
- Cut all of the pieces of the design from vinyl using the Cricut Maker. The color of the vinyl does not matter as it will be discarded after use.
- Paint a large orange oval onto the wood surface, just larger than the pumpkin shape cut from vinyl.
- After the paint is completely dry, apply the pumpkin mask over top of the orange painted section.
- Apply brown paint to the area where the stem would be located on the wood surface, just above the pumpkin shape. Allow to dry.
- After the paint is completely dry, apply the stem mask over top of the orange painted section.
- Repeat with green paint and the leaves.
- Once all the masks are in place, apply paint on top using a dabbing motion to cover exposed area of wood with one color of acrylic paint.
- Allow to dry.
- Peel away the layers of vinyl and discard, revealing a stunning hand painted sign.
Ready to MAKE?!
First stop, you'll need a Cricut Maker. Find out more here:
Tell me … how do you decorate your front door for fall or Halloween?
Love this project? SAVE it to Pinterest!

About the Author

Jennifer Priest is a 20+ year designer in the arts & crafts industry and home DIYer with a passion for creativity. An Army veteran raised on a ranch, from her experience, she shares smart DIY projects that save money and fun craft ideas that anyone can make. Besides blogging, Jennifer is a Master Practitioner and Trainer of NLP, Hypnosis, and MER, and coaches other online entrepreneurs on money mindset, business, and living an intentional life. When not blogging, Jennifer is having adventures in the wilderness, on road trips, playing with her cats, and making paleo food.


One Comment